E-Learning on demand
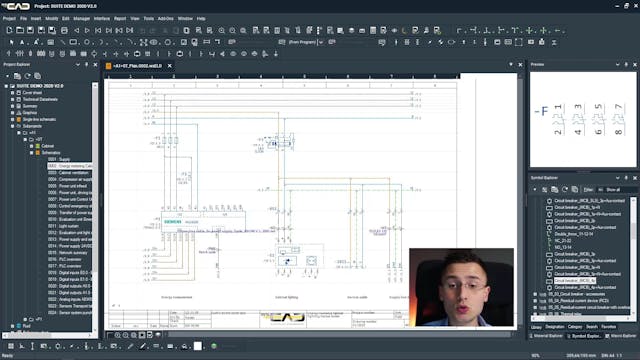
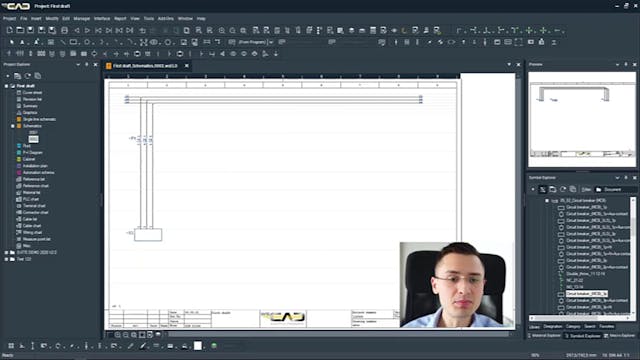
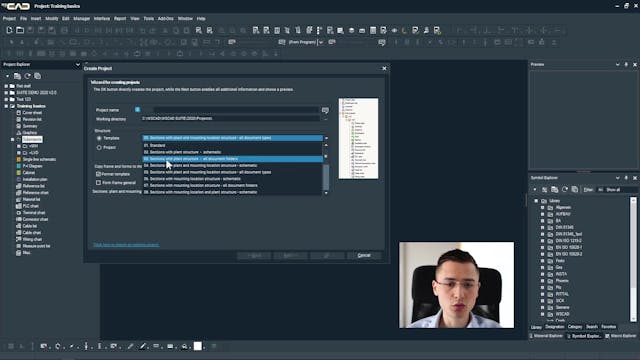
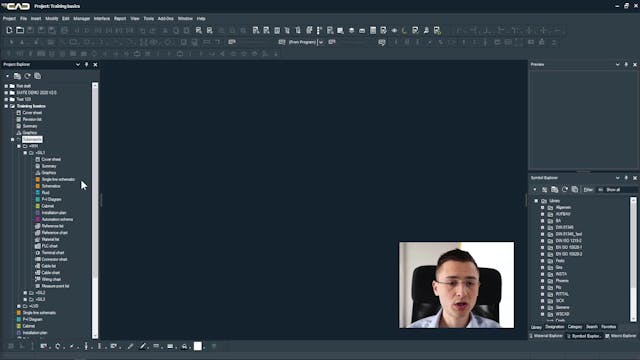
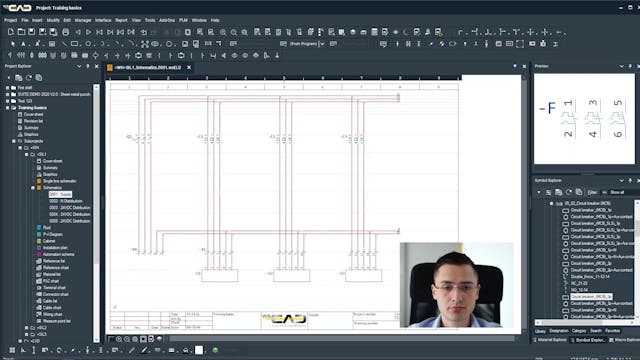
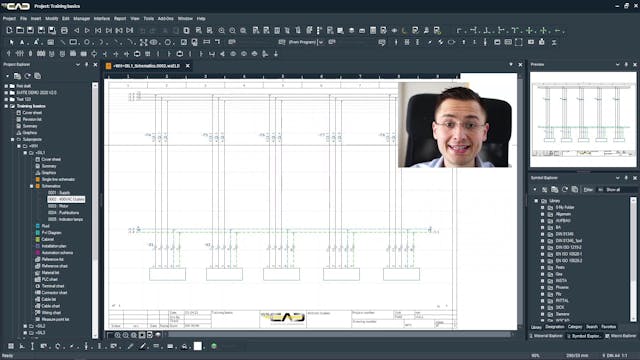
Basic tutorial videos how to use WSCAD Software.
If you are intersted in this tutorial videos please contact [email protected] or call +49 8131 3627-400 for an offer.
-
0. Introduction
-
1.1 User Interface - Fixed Areas
-
1.2 User Interface - Toolbars
-
1.3 User Interface - Additional windows
-
1.4 User Interface - Drawing area
-
1.5 User Interface - Mouse and keyboard
-
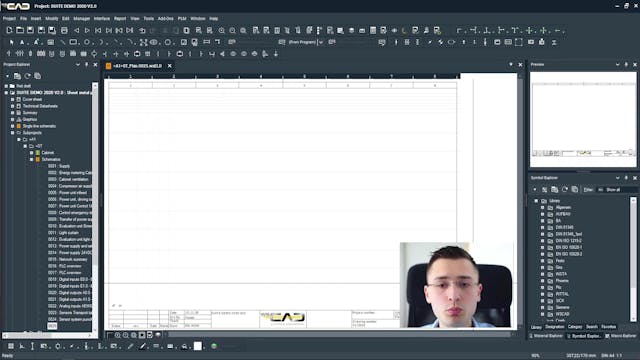
2.1 Creating projects - Project Explorer
-
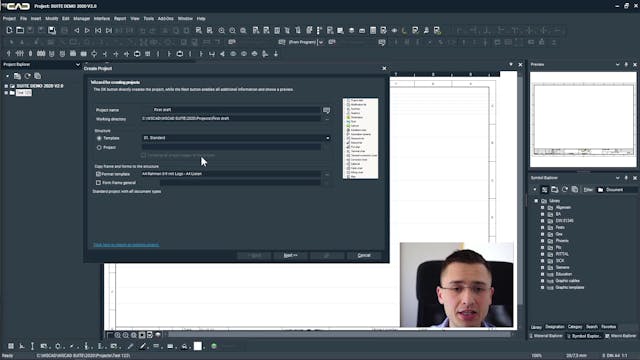
2.2 Creating projects - Structuring
-
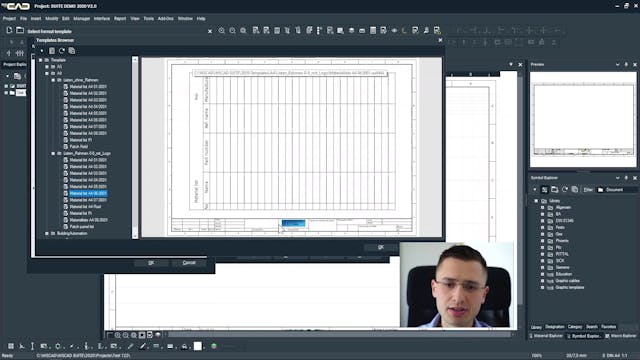
2.3 Creating projects - Frames and forms
-
2.4 Creating projects - Project-specific configuration
-
2.5 Creating projects - Project properties
-
3.1 Symbol Explorer - Views
-
3.2 Symbol Explorer - Filters
-
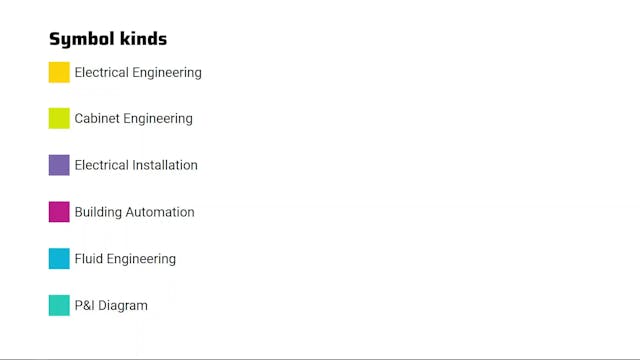
4.1 Drawing - Symbol kinds and types
-
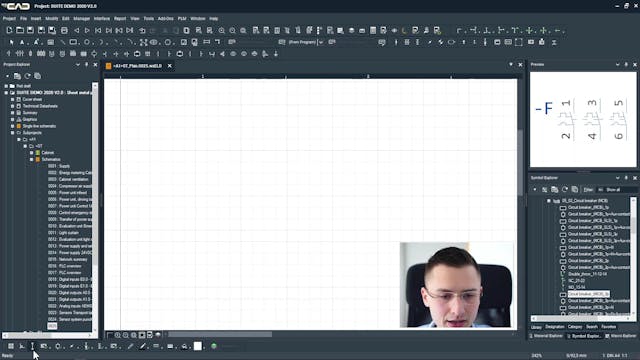
4.2 Drawing - Settings - Snap
-
4.3 - Drawing - Settings - Orthogonal mode
-
4.4 Drawing - Settings - Auto-connect
-
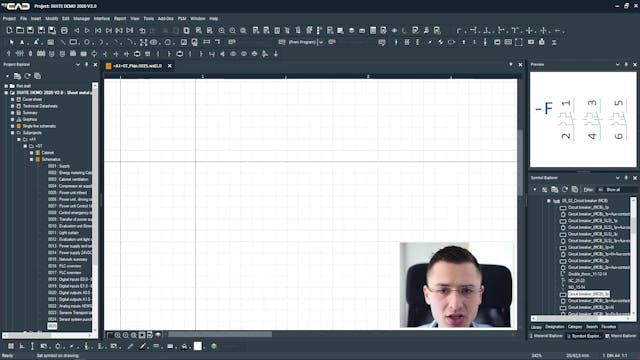
4.5 Drawing - Placing ang connecting symbols
-
4.6 Drawing - Destination wiring principle
-
4.7 Drawing - Destination wiring use cases
-
4.8 Drawing - Destination wiring - interruption points
-
4.9 Drawig - Tips and tricks
-
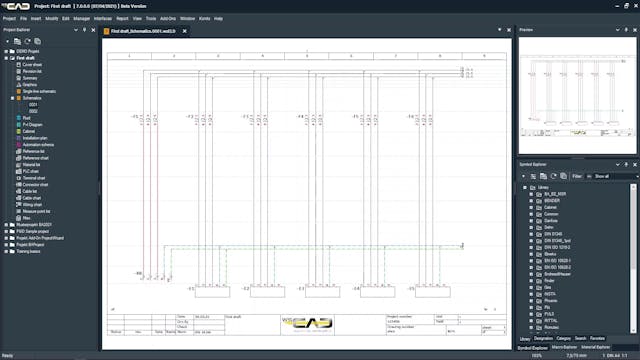
5.1 Project Data - Creating projects with structure
-
5.2 Project Data - Page description
-
5.3 Project Data - Connection attributes
-
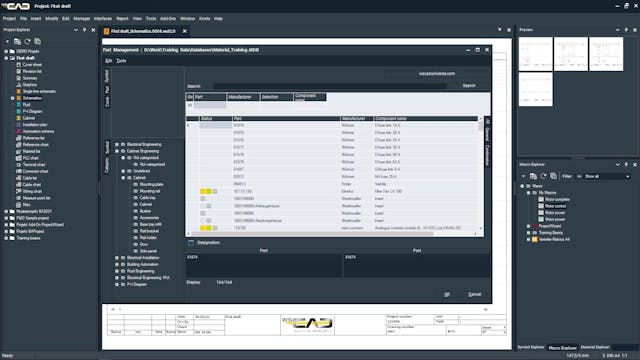
5.4 Project Data - The part database
-
5.5 Project Data - Assigning parts to symbols
-
5.6 Project Data - The Quick Editor
-
5.7 Project Data - Part-oriented drawing
-
5.8 Project Data - Downloading parts from wscaduniverse
-
6.1 Creating Symbols - The component box
-
6.2 Creating Symbols - The black box
-
6.3 Creating Symbols - The Symbol Editor
-
6.4 Creating Symbols - Swaping symbols
-
6.5 Creating Symbols - Creating own symbol libraries
-
7.1 Terminals - Individual placement
-
7.2 Terminals - Multi placement
-
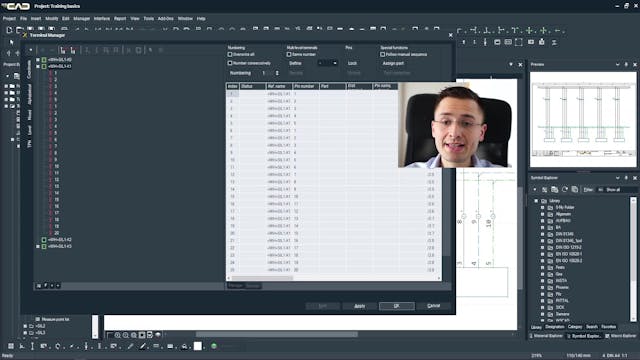
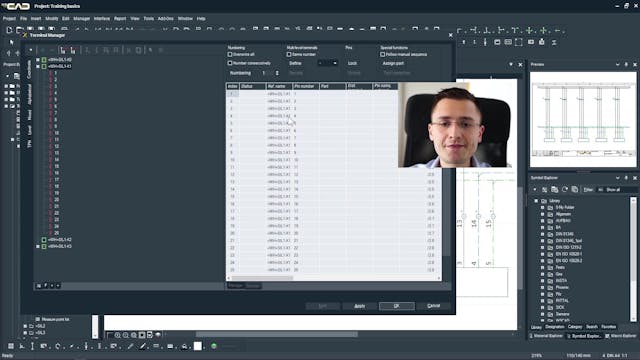
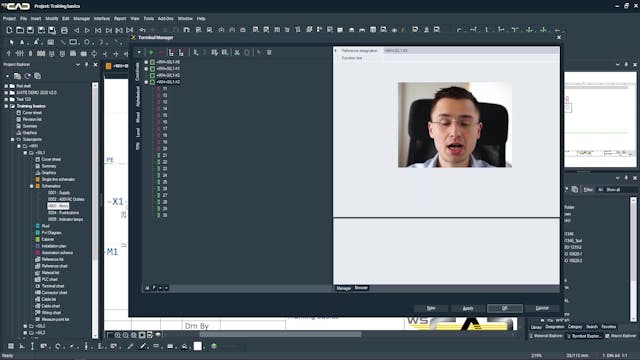
7.3 Terminals - The Terminal Manager
-
7.4 Terminals - The Terminal Manager - Numbering
-
7.5 Terminals - The Terminal Manager - Multi-level terminals
-
7.6 Terminals - The Terminal Manager - Assigning parts
-
7.7 Terminals - The Terminal Manager - Drawing with an active manager
-
7.8 Terminals - Tips and Tricks
-
8.1 Connectors - Placing connectors
-
8.2 Connectors -The Plug manager
-
9.1 Contactors - Symbol-oriented placement
-
9.2 Contactors - Part-oriented placement
-
9.3 Contactors - Adding auxiliary blocks
-
10.1 Macros - Principle
-
10.2 Macros - Creating and placing macros
-
10.3 Macros - Benefits
-
11.1 Parent and child elements - Principle, use cases and placement
-
11.2 Parent and child elements - Placing with an active manager
-
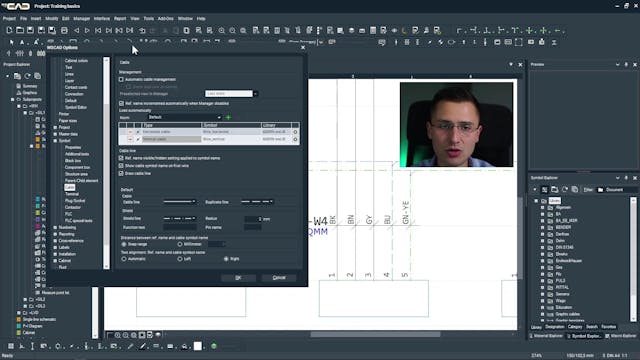
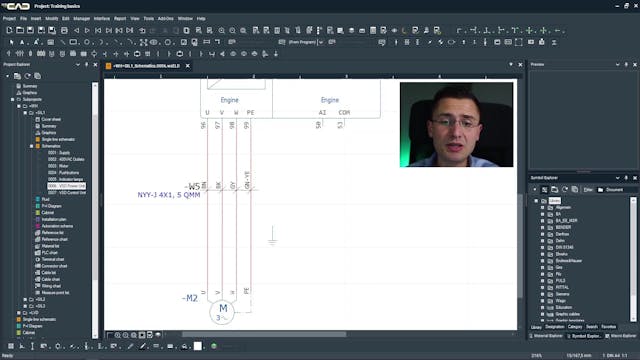
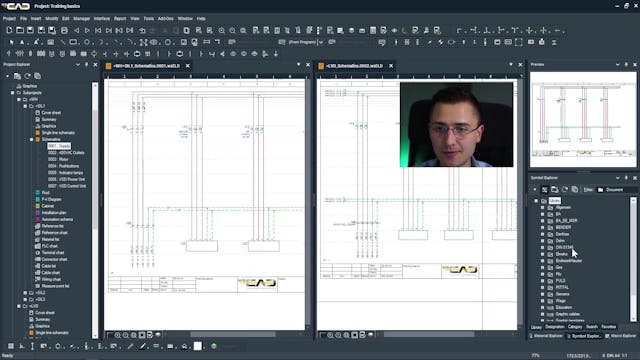
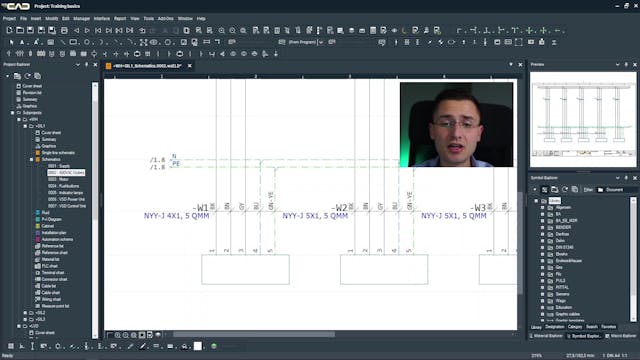
12.1 Cables - Placing cables
-
12.2 Cables - Placing cables with an active manager
-
12.3 Cables - Copying cables
-
12.4 Cables - Cable shields
-
12.5 Cables - Cable duplicates
-
12.6 Cables - Deleting cables
-
13.1 PLCs - Placing the CPU and the IO cards
-
13.2 PLCs - Assigning addresses
-
13.3 PLCs - Placing the IOs
-
13.4 PLCs - Tips and Extras
-
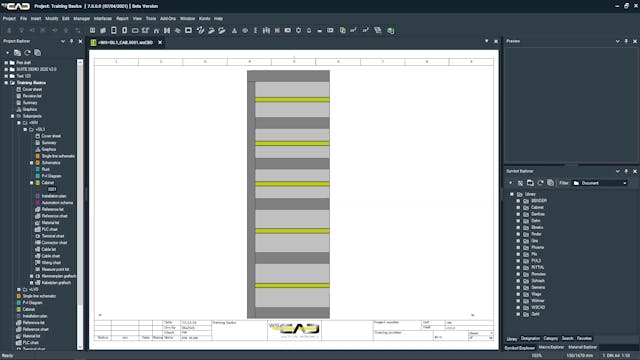
14.1 Cabinet Engineering - Placing mounting plates, doors, enclosures
-
14.2 Cabinet Engineering - Placing cable ducts and DIN rails
-
14.3 Cabinet Engineering - Moving and resizing objects manually
-
14.4 Cabinet Engineering - Moving and resizing with the Alignment Objects commands
-
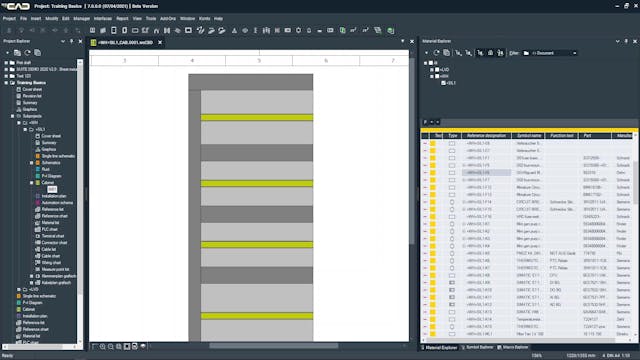
14.5 Cabinet Engineering - The Material Explorer
-
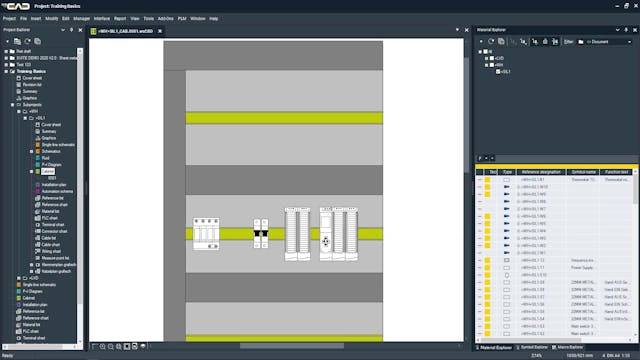
14.6 Cabinet Engineering - Placing devices inside the panel
-
14.7 Cabinet Engineering -Settings and preferences
-
15.1 Project documentation - Numbering the devices
-
15.2 Project documentation - Generating reports - Bill of materials
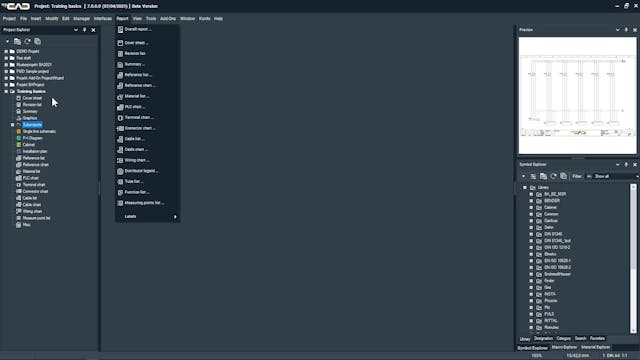
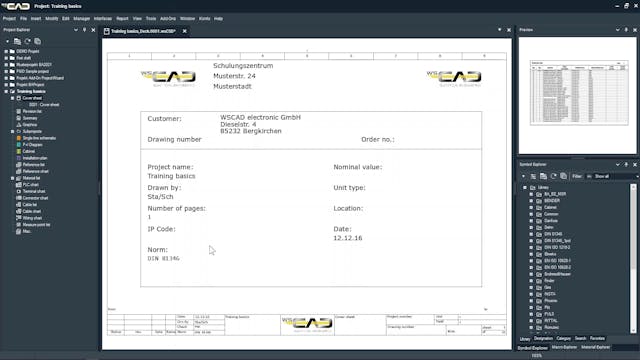
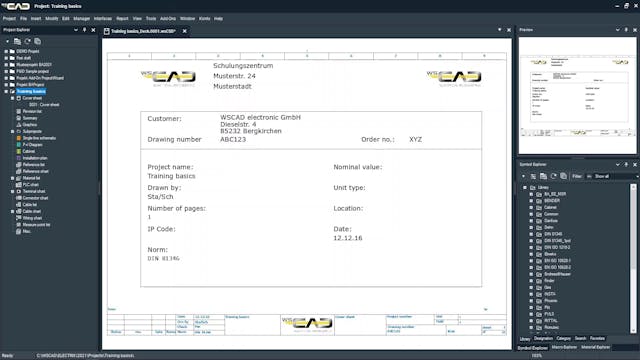
-
15.3 Project documentation - Cover sheet and changing the logo
-
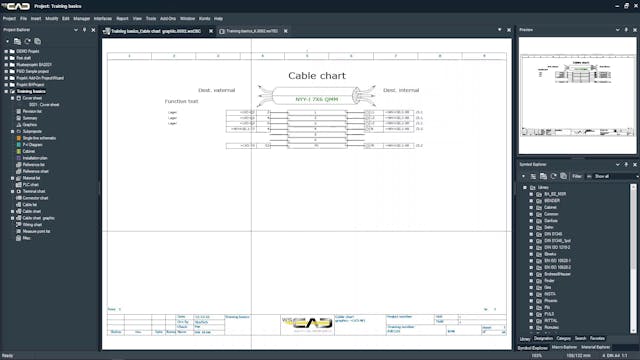
15.4 Project documentation - Graphical reports
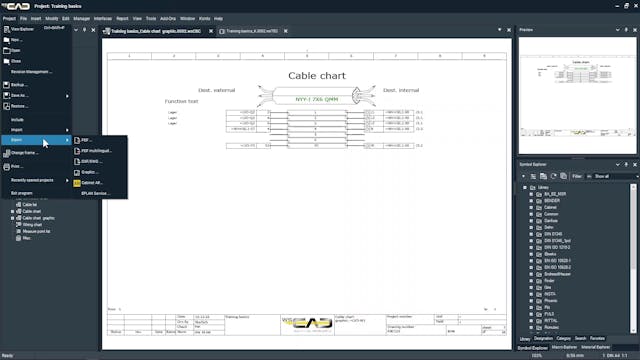
-
15.5 Project documentation - Exporting to PDF
-
15.6 Project documentation - Other export formats
-
15.7 Project documentation - Labels
-
16. Settings
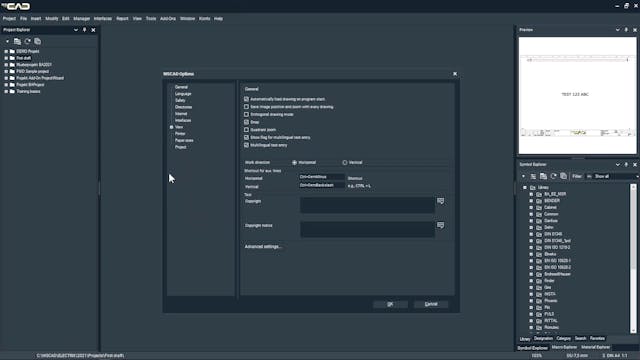
-
17. Managing your projects

